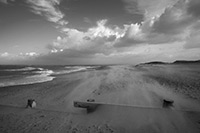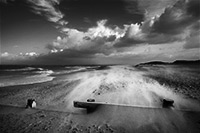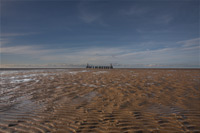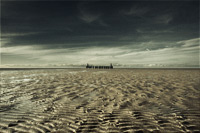
Landscapes: creating dramatic skiesIn one sense, creating a dramatic sky, assuming that the sky in your photograph isn’t entirely flat and lifeless to begin with, is relatively straightforward: you just need to expand its tonal range, boost the saturation, and so on. A relatively simple job for the Curves tool. Typically though, any shot that includes the sky will also include some other feature – the ground, a person, a tree, and so on – and invariably, the sky will be considerably brighter than this feature. If we simply adjust the image to make the sky more dramatic we will probably fail to produce a good image, and fail quite miserably. In this sense then, creating a dramatic sky must be seen as part of a larger task; i.e. creating an image with a dramatic sky, where both the sky the ground, or any other features, combine to create a well-crafted and compelling image. In this tutorial we will work through a range of examples, using four layered Photoshop files, to explore a variety of post-production techniques and tools that you can use to produce images with a dramatic sky. This will include a discussion of the Selective Color tool, using Curves and gradient masks, blending two exposures, and using the Curves tool to both alter the colour balance of a sky and tone an image. The topics covered in this tutorial include:
This tutorial contains 7115 words and 90 illustrative images and screen grabs, and has received 44 comments. Photoshop files included with this tutorial
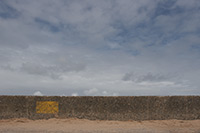
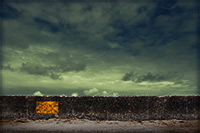
Each of our tutorials is based around a series of Photoshop files, at the resolution originally posted on chromasia, and each contains all the original adjustment layers I used to create the final image. The ones that are included in this tutorial, and a brief description of how each one will be used, are listed below – the ‘before’ version on the left, the ‘after’ version on the right. Each of these files can be downloaded after you subscribe.
What our subscribers have said about this tutorial
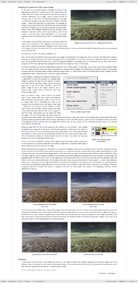
Content overview (the rollover graphics and embedded videos are not illustrated)
How to subscribe
Further information
To find out more about our other individual tutorials please click any of the following images. Alternatively, you can visit our main tutorials page for further information on: our annual subscriptions; our forthcoming issues; and our current members’s offers. You can also read through our sample tutorial on Tonal Range and the Curves tool.
David J. Nightingale © 2003–18 • all rights reserved
|
↓ David
↓ Libby
↓ Get the Latest News


software links
 Our annual subscribers and lifetime members can obtain a 15% discount on any of the Topaz Labs Photoshop plugins or plugin bundles.
 Our annual subscribers and lifetime members can obtain a 15% discount on Photomatix Pro.
training partners
| ||||||||||||||||||||||||||||||||||||||||||||||||||||||||||||||||||||||||||||||||||||||||||||||||||||||||||||||||||||||||||||||||||||||||||||||||||||||||||||||||||||||||||||||||||


